
Do your electricity bills shock you every month? Rising energy costs have become a common concern for households and businesses across the UK. As a result, many people are turning to renewable energy sources like solar power systems to reduce their monthly expenses.
If you are also considering this option, some questions might be bothering you before the installation. Among them, the most common should be: How to install solar power at home? That’s exactly what we are going to discuss in this guide. You will learn the complete step-by-step process to set up a solar system. But before learning the exact steps, let’s first get familiar with some basics.
What Does a Solar Power System Include?
You might have noticed that solar panels are the first thing that comes to mind when we think about this system. But in reality, that is just one part of a complete setup. A full solar system includes multiple components that collectively work to convert sunlight into usable electricity. The other parts are:
- An Inverter
- A Battery
- A Writing System
- A Transfer Switch
- A Charge Controller
What Tools Do You Need to Install Solar Power?
Installing a solar power system isn’t like placing a pre-made unit somewhere in your home. Instead, it involves planning the right place, building the structure, screwing multiple panels, making connections, and many other small yet essential tasks.
For each step in this process, you need specialised tools to ensure proper system installation. Let’s walk through a list of must-have tools for this purpose.
- Drill and drill bits
- Screwdrivers
- Spanners
- Sockets
- Tape measure
- Spirit level
- Wire cutters
- Strippers
- Crimping tools
- Connectors
- Voltage tester
- Multimeter
- Insulation tape
- Helmet
- Gloves
- Safety rope
- Chalk line
- Protective footwear
- Panel lifting device
Step-By-Step Process to Install a Solar Power System
Now, coming to the main question: “How to install solar power?” Let’s go through the steps to ensure your installation goes smoothly and safely.
1. Assess the Solar Placement Space First
You should always begin by evaluating the area designated for the solar system’s installation. Whether it’s a roof, a carport, or a ground-mounted area, check it for exposure to direct sunlight and ability to bear the system’s weight. Besides that, make sure that it’s easily accessible for installation.
Furthermore, analyse if nearby shady trees or buildings block sunlight during the day. With these factors in mind, you can select a location that is both structurally reliable and capable of delivering optimal energy output.
2. Plan the System Layout to Avoid Delays
Once you are clear about where to install the solar system, you need to plan its layout wisely. First, determine the required number of panels and how much space they will take up. Also, you should be clear about their direction and routing of electrical cables. At the same time, make sure that you decide on the location of the inverter, battery, and safety switches.
Once you know where and when to place it, and what to do, it becomes easier to complete the installation process without delay. Moreover, proper planning ensures you set up the system in the most beneficial and comfortable way.
3. Install the Mounting Structure Correctly
This is the first practical installation step, which involves fixing the mounting structure to hold the solar panels firmly. The stronger it is, the more stable and secure your panels will be in all weather conditions. So, make sure that you install mounts correctly. Here is how you can do it for more duality:
- Secure the brackets tightly to the roof.
- Position the rails so they are aligned.
- Adjust their angle so that panels capture sunlight fully.
- Fill the holes on the roof or ground with effective sealants.
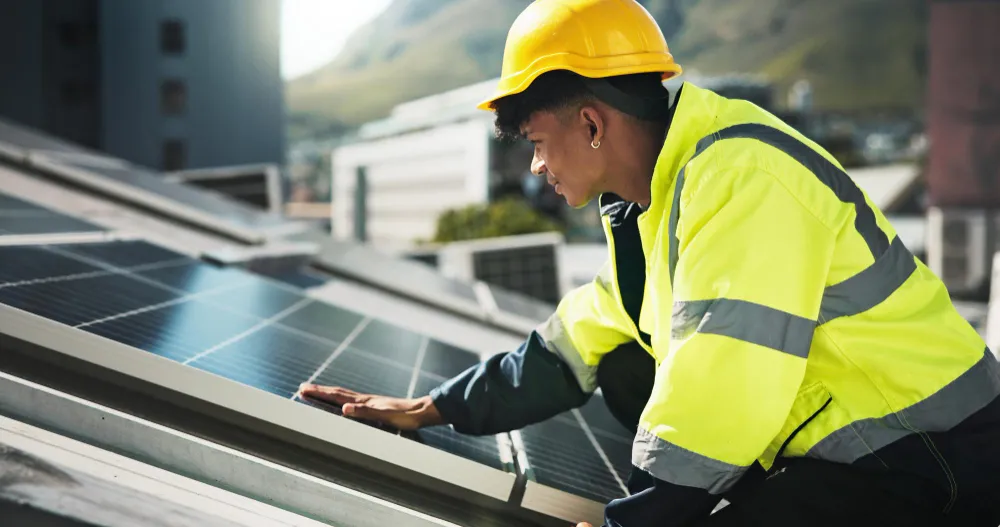
4. Place and Secure the Solar Panels
After you have prepared the mounting structure, place the panels on it. When installing the panels, make sure they remain completely stable. Loose panels can be damaged by strong winds or harsh weather, which may lead to costly repairs or replacements.
To ensure long-term safety, position the panels evenly along the rails and tighten all the bolts firmly.
5. Make Electrical Connections Correctly
After installing the mounts and panels, you need to make electrical connections so that you can finally benefit from renewable energy. Here, you should connect panels with each other and set up the wires that lead to the inverter and battery. When wiring the panels together and with the inverter unit, remember to:
- Check the polarity of all connections
- Use weatherproof MC4 connectors
- Install safety switches and fuses
- Secure cables along safe pathways
6. Install the Solar Inverter in a Cool Place
The solar inverter converts the direct current (DC) generated by your panels into usable alternating current (AC) for your home or business. It usually contains multiple electrical circuits that work together to manage this conversion.
So, it’s normal for such a unit to heat up when placed in a hot place, which can affect its performance. To avoid overheating, place the inverter in a cool, stable location and mount it securely on a wall. Once set up, connect it to the wires coming from solar panels.
7. Set Up the Battery Storage System
When an inverter is connected, you can start benefiting from the solar system right away. However, it will only work efficiently during the day when sunlight is available. To use it at night or during cloudy days, you need to install a battery storage system, taking your wattage requirements into account.
As with the inverter, place the battery on a ventilated, stable surface. Then simply connect it to the inverter and home wiring, integrating safety switches and monitoring systems.
8. Test the Entire System to Get Started
The last step of installing a solar system is to perform thorough testing before actually relying on it. While this task can take extra time and effort, it helps ensure that the panels, inverter, battery, wiring, and other components work properly.
Once you are satisfied with the system, you can start using it confidently. However, don’t forget to note its performance in the initial days to make any adjustments. Here is a quick checklist that helps you test the solar system efficiently:
- Measure the voltage and current from each panel.
- Test inverter operation and display readings.
- Verify battery charging and discharging.
- Inspect all wiring and safety devices.
- Activate any monitoring or management systems.
The Final Words
Installing solar power is a practical step toward reducing long-term energy costs for your home or business. With a clear plan in place, you can approach the process with confidence. If the technical side feels challenging, professional support can make all the difference.
Ablaze Green Energy is always there to provide you with professional solar installation services. We aim to lower your electricity bills by recommending and installing bespoke renewable energy solutions, including solar systems. So, take your first step towards reduced electric costs by getting in touch with us.
FAQs
There is no fixed cost of installing a solar power system for every home or business. Instead, it varies depending on system size, panel type, inverter type, battery type, and any additional equipment. So, it’s better to get a personalised assessment from professional installers to make the right estimate.
First of all, it depends on your day-to-day energy use. Secondly, the capacity of the available space is also a major factor. So, you must take these factors into account when deciding how many panels to install for your house or company’s solar system.
Installing a solar system without a battery is the same as installing one with a battery. The only difference is that you don’t have to make the extra hassle of connecting the battery at the last minute. However, this limits the benefit of the solar to daytime usage.